Custom agents
Reviewing the default agents, and creating, requesting, and sharing custom agents for your company
Updated 2026.10.01
This page covers reviewing Aitane's AI agents and creating and managing agents for your company from カスタムエージェント (Custom agents) in the left navigation.
This feature is in beta. More capabilities will be added over time.
What you can do in the beta
- Review the four default agents that come with Aitane
- Create custom agents for your company and set their name, type, instructions, triggers, execution user, allowed integrations, and execution mode
- Request activation of a custom agent, and have a workspace admin approve it
- Share custom agents with members
In the beta, you can create, configure, request, approve, and share agents. Automatic execution by triggers, Run now, and running from the chat on the detail screen will be offered over time. For now, even agents you've made active don't run automatically. If you send a message in the chat on an active agent's detail screen, you'll see "Agent execution is not connected yet. Your input has been preserved." and nothing runs.
This is separate from Ask mode and Agent mode in the AI chat. A custom agent's execution mode (Assist / Agent) has nothing to do with the AI chat's modes. For the AI chat's modes, see Ask mode and Agent mode.
Requirements
- Only workspace admins can create custom agents
- Approving, pausing, deleting, changing integrations, and managing sharing are also workspace-admin only
- Everyone in the workspace can review the default agents
Default agents
Every workspace comes with these four default agents.
| Name | What it does |
|---|---|
| 議事録作成 (Minutes) | Drafts meeting minutes after a meeting ends |
| 商談事前分析 (Pre-meeting analysis) | Before a meeting, organizes CRM and meeting information and summarizes the points to check |
| 取引作成・更新 (Deal creation and update) | Updates deal stages and amounts, or creates new deals, based on what was discussed in a meeting |
| タスク作成・実行 (Task creation and execution) | Pulls tasks out of meetings and Slack mentions and registers them |
Default agents are always active, and their contents can't be changed. If you want different behavior, create a custom agent.
Create a custom agent
- Open カスタムエージェント (Custom agents) in the left navigation and click New agent.
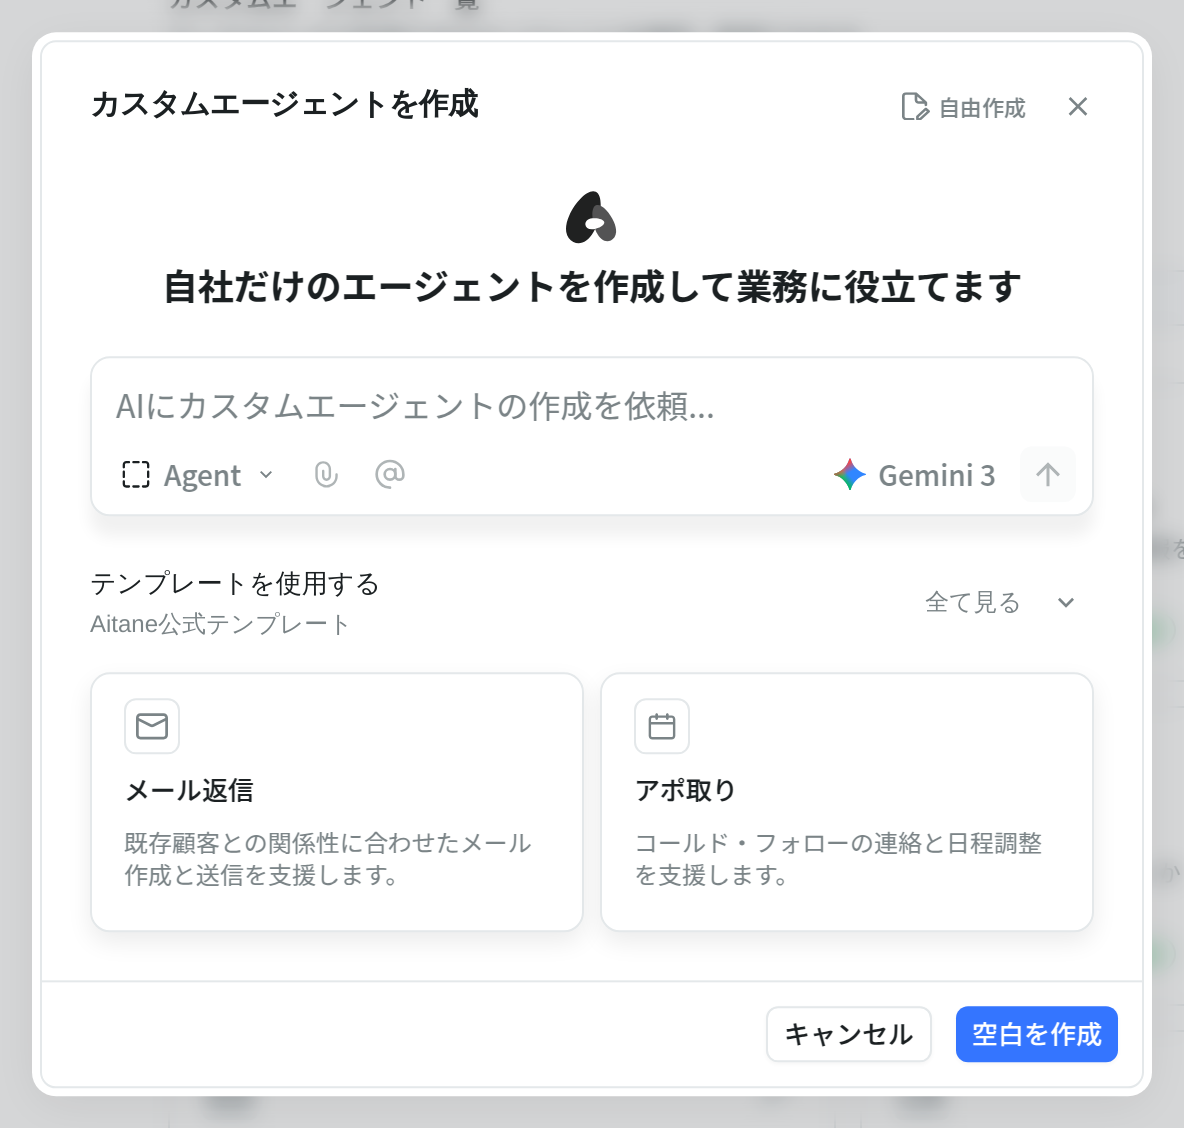
- On the Create a custom agent screen, choose how to start.
- Use a template — pick an official Aitane template (Email outreach / Appointment setting) and click Create
- Click Create blank without selecting anything to create an empty agent
- The box on this screen for asking the AI to create an agent isn't available yet
- The new agent's detail screen opens. Set it up under Settings on the right, then click Save.
A new agent starts in the Draft state.
Settings
| Item | What it is |
|---|---|
| Name | The name shown in the list |
| Type | Which kind of agent it is, such as minutes or pre-meeting analysis. It can only be changed while the agent is a draft. An agent can't be activated until its type is set |
| Instructions | A written description of what the agent should do |
| Triggers | The conditions for when it runs. Choose from Aitane (record created or updated, meeting ended, etc.) / Slack (mentions) / Schedule (a time each day or week) / Mail (received), and add conditions. The available triggers depend on the type. Used once automatic execution becomes available |
| Execution user | The member whose permissions and external service connections are used for automatic runs that have no target user. If it isn't set, the agent doesn't run. Only workspace admins can set it |
| Integrations | For each of Aitane / Gmail / Outlook / Slack / LINE, turn on or off the operations this agent may use. Operations that are turned off aren't used, even if the service is connected |
| Execution mode | Whether a review step comes before it runs. Choose Assist (creates proposals that run after review) or Agent (runs without a review step). Found under Advanced (execution mode and details) |
Choose the agent used for automatic execution
In Agent for automatic execution on the detail screen, you can switch, for each type, which agent is used for automatic execution: the default (default agent) or a custom agent. Only active agents can be selected. This choice is saved per member and is used once automatic execution becomes available.
From draft to active
A custom agent moves through Draft → Pending → Active → Paused.
| Current state | Action | Who can do it |
|---|---|---|
| Draft | Request activation → Pending | Members with edit access |
| Draft / Pending | Activate → Active | Workspace admins |
| Pending | Send back → Draft | Workspace admins |
| Active | Pause → Paused | Workspace admins |
| Paused | Reactivate → Active | Workspace admins |
Workspace admins can Activate an agent directly without a request.
Requesting activation does not notify admins. Let your admin know directly that you've sent a request.
Delete
Workspace admins can delete a custom agent from … (More actions) at the top right of its detail screen by choosing Delete agent and then clicking Delete. Deletion can't be undone. Default agents can't be deleted.
Share
Workspace admins decide who can see an agent from Share on the agent's detail screen.
- Limited access — only invited members can access it
- Team — members of the selected team can access it. Admins create teams on the Teams tab of the members screen in Settings
- Everyone in the workspace — all members of the workspace can access it
- You can invite members individually and choose Can view or Can edit
The owner and members who can edit can change the settings. Members with view-only access can't change the settings.